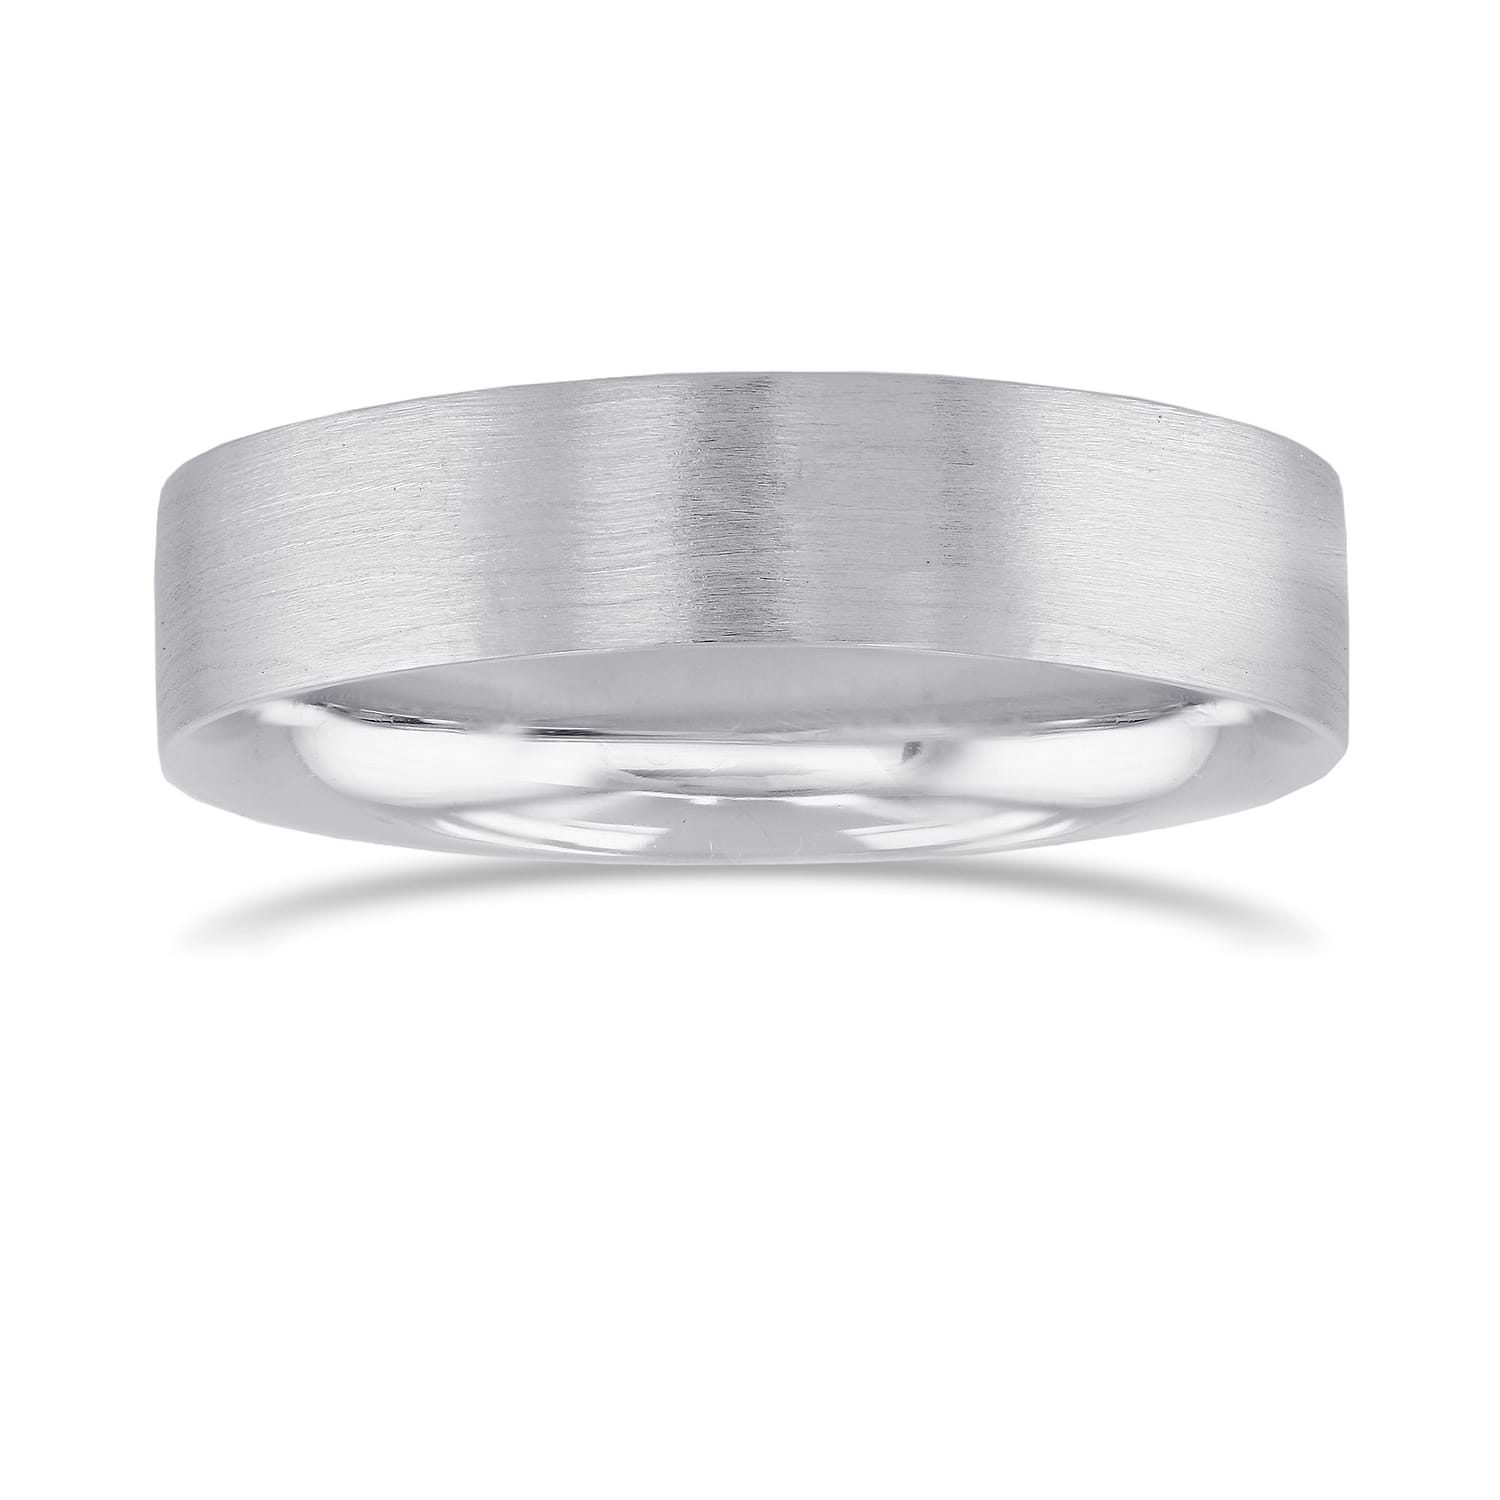
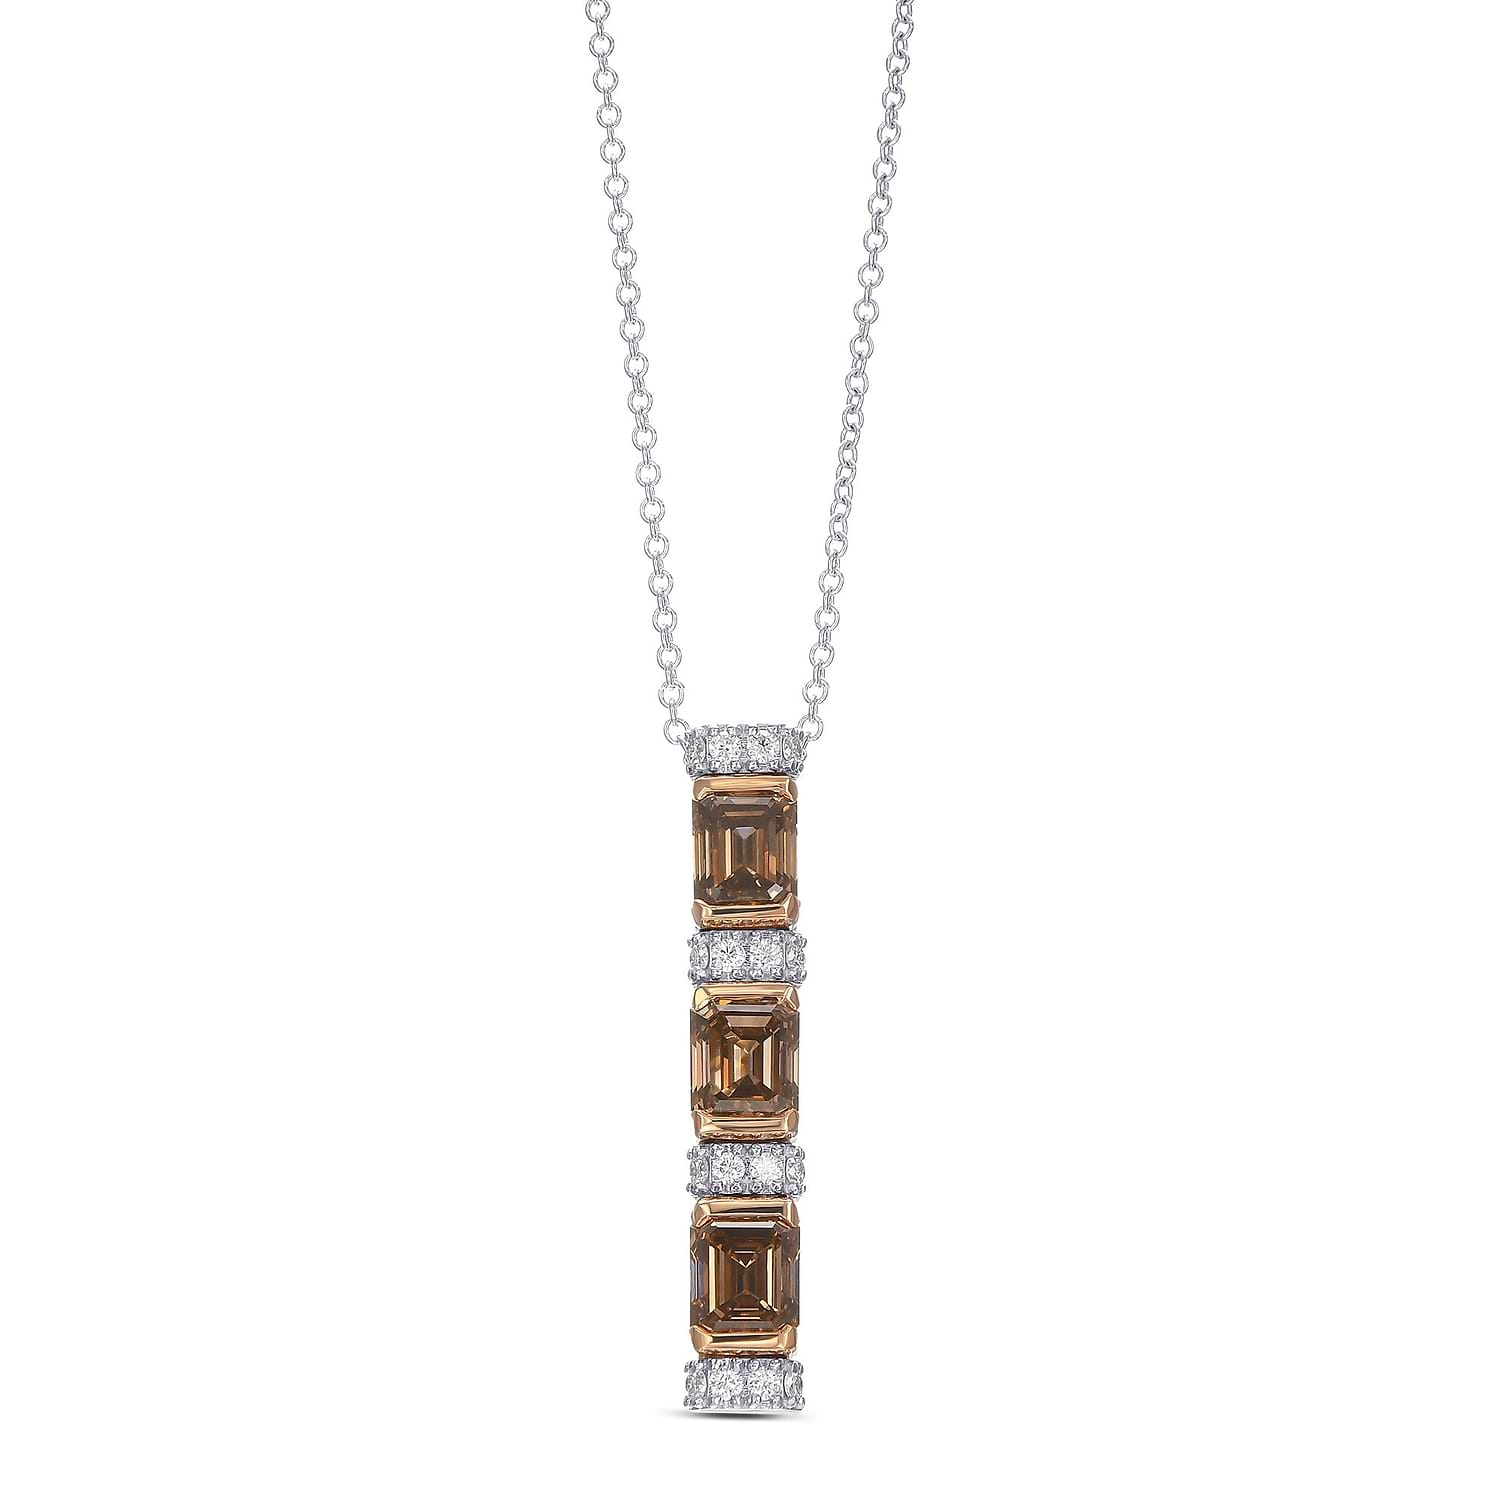
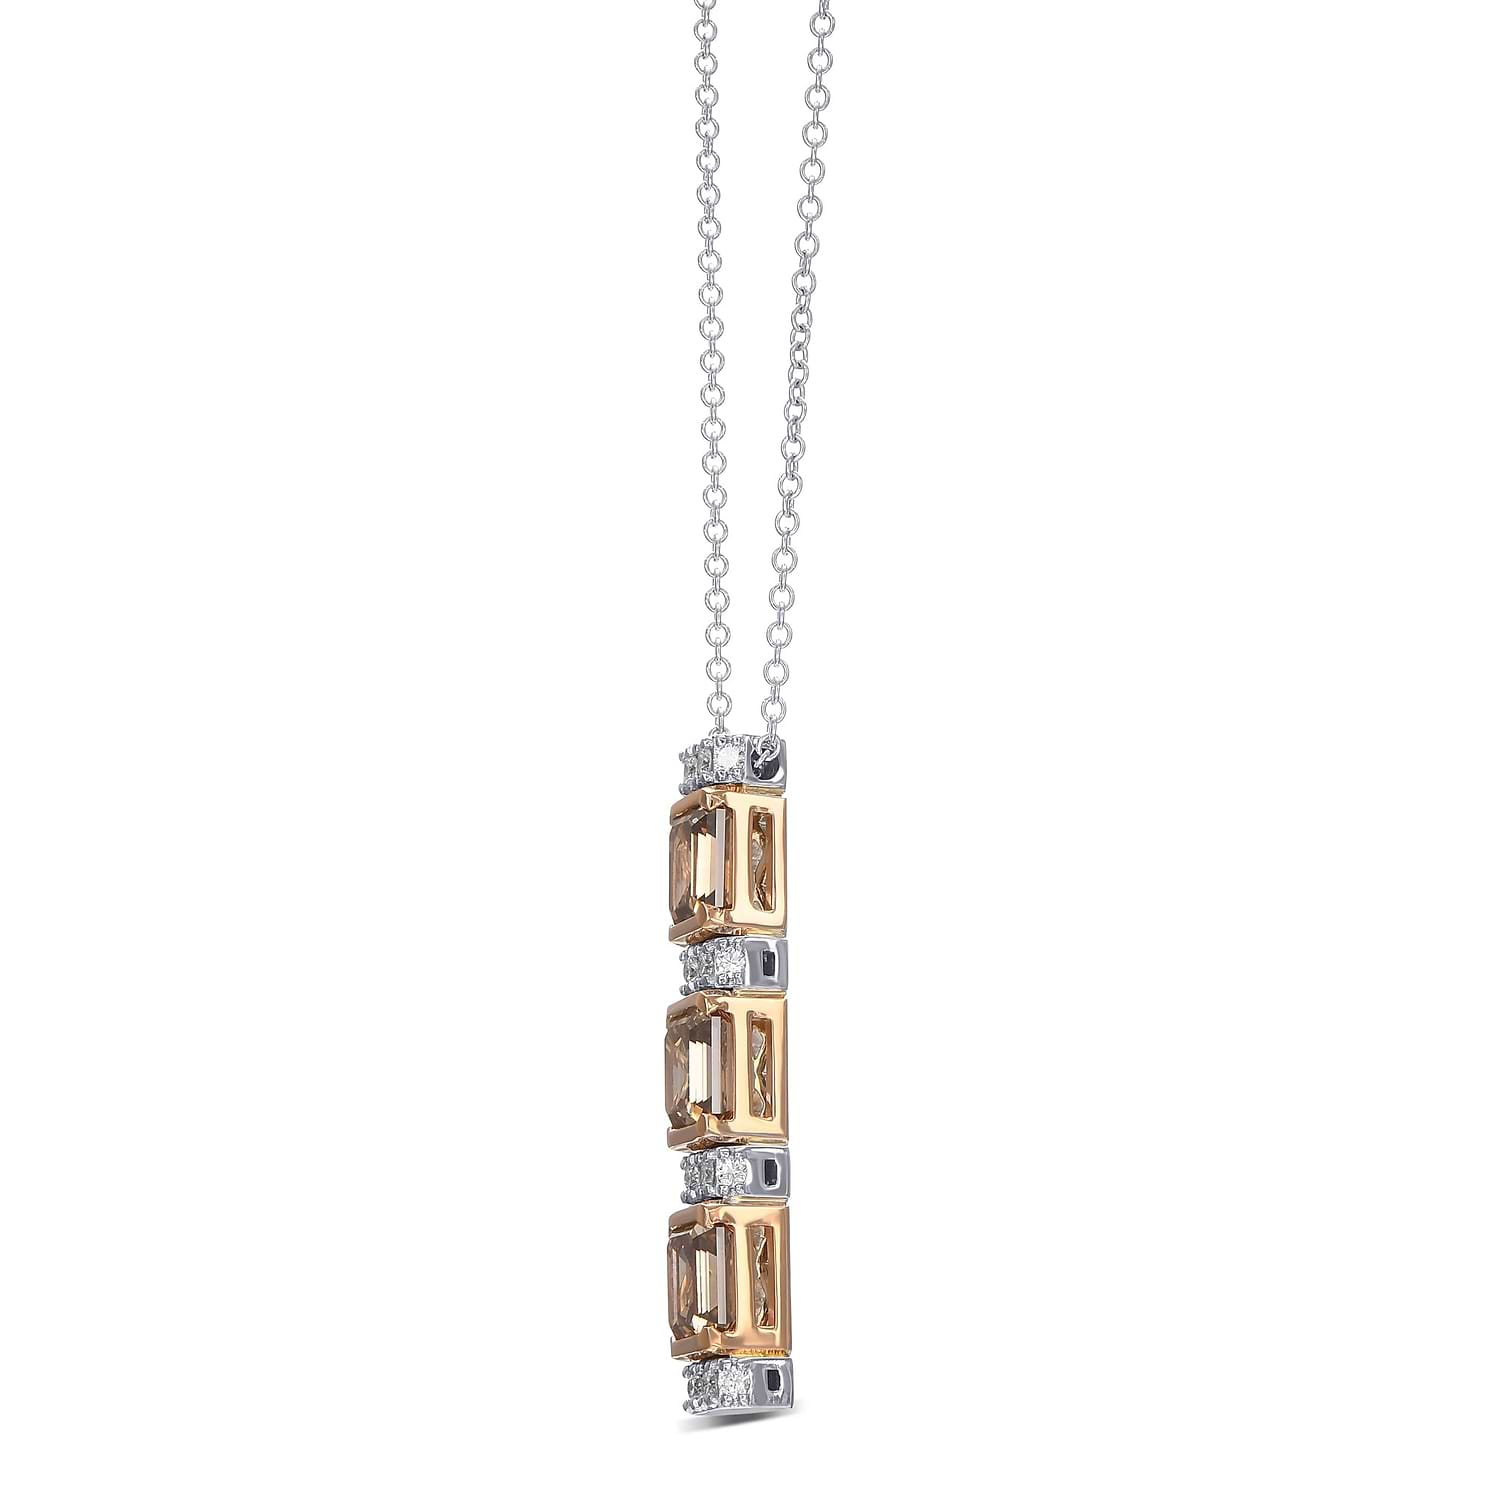
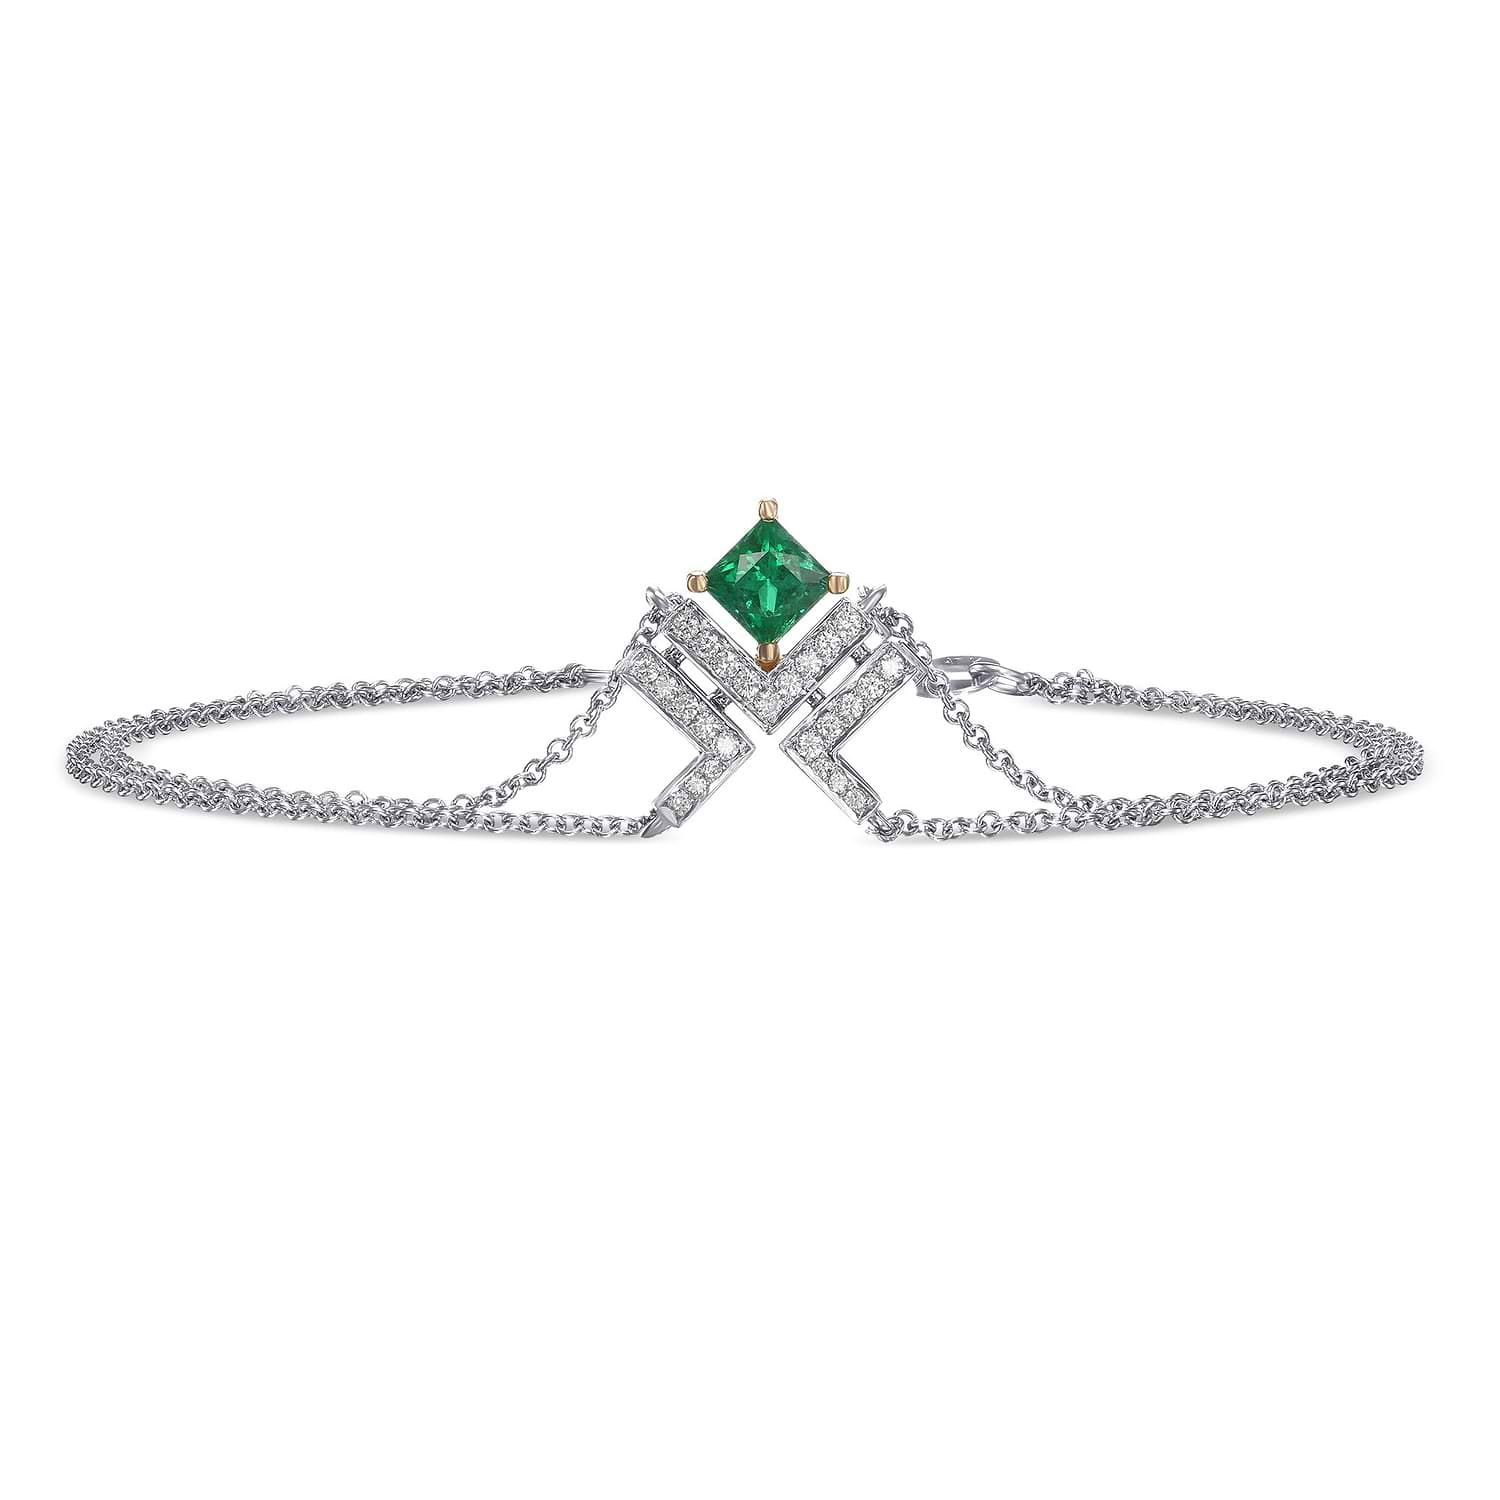
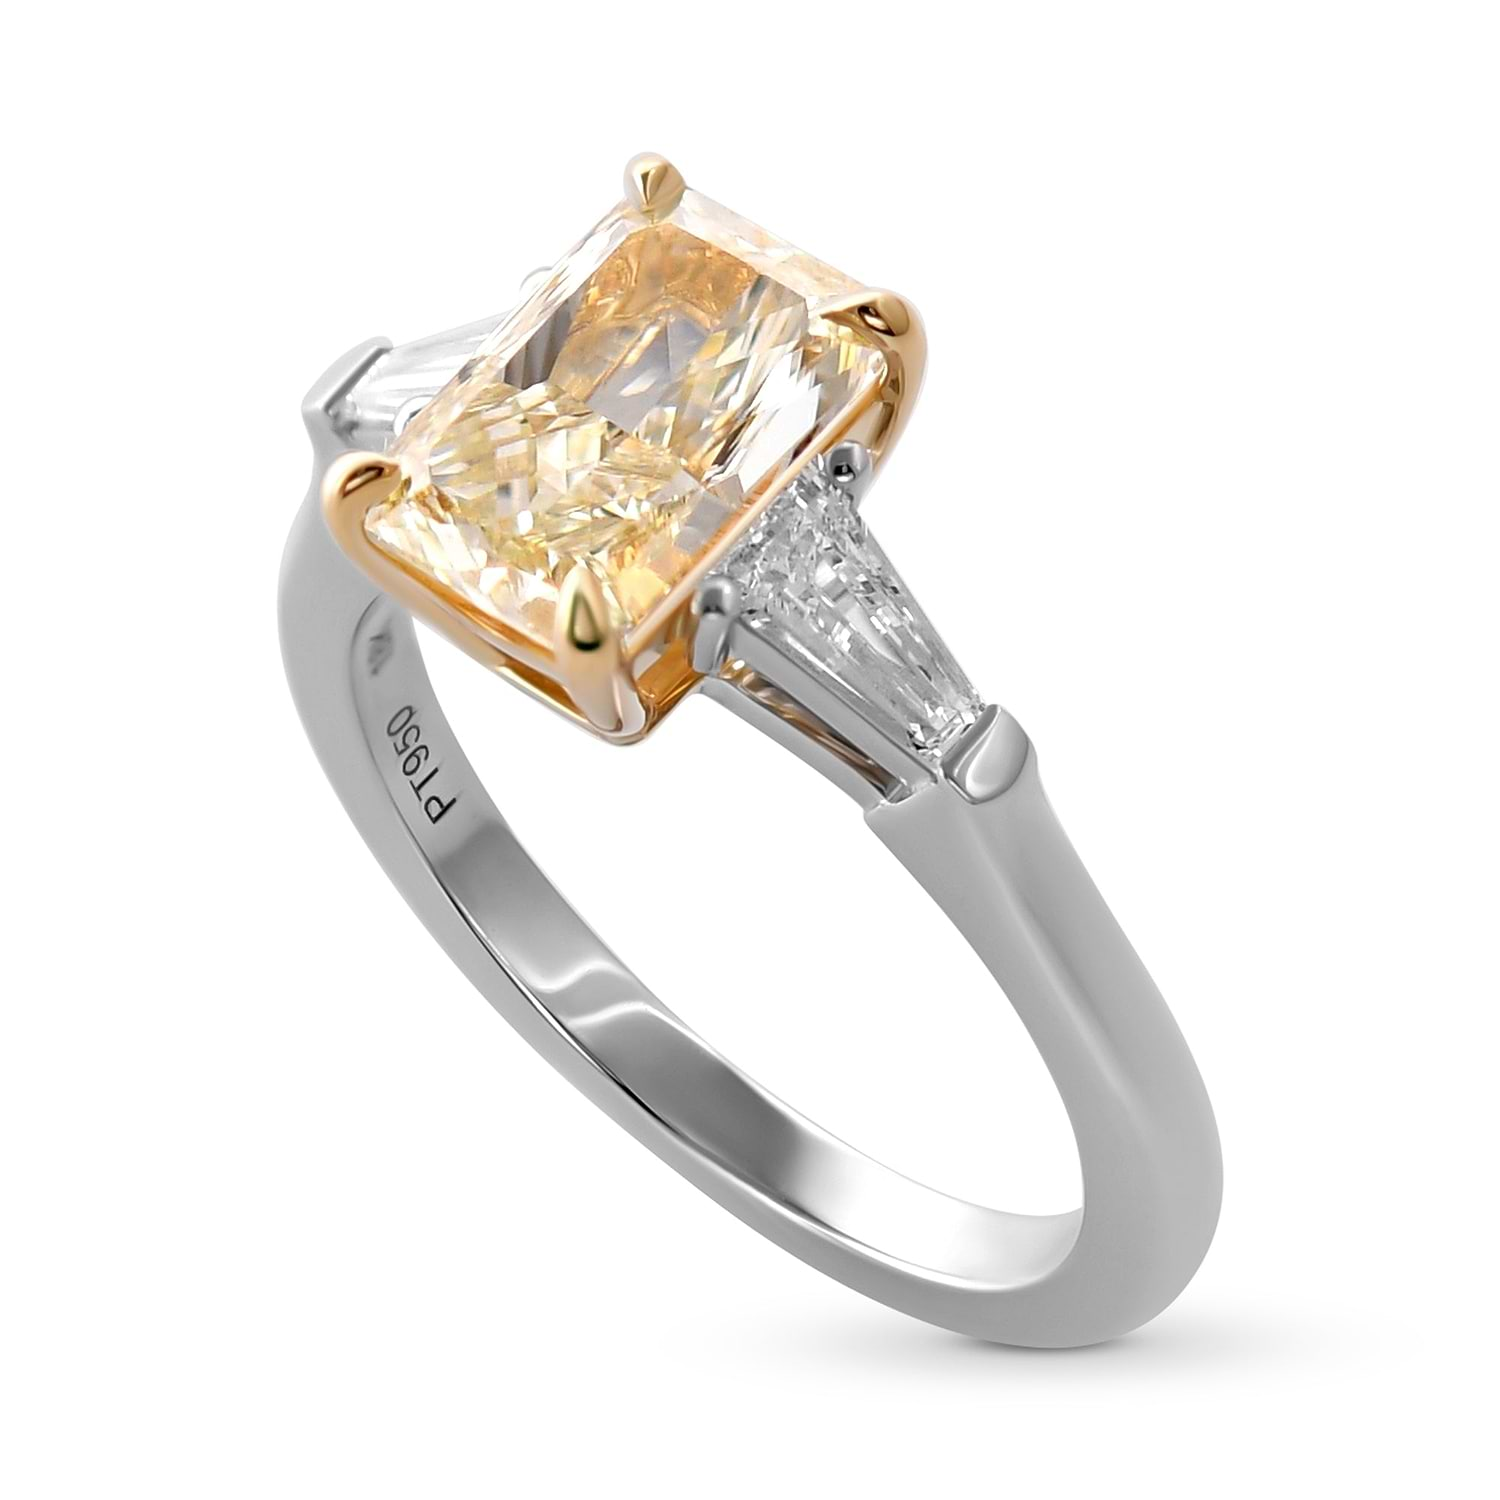
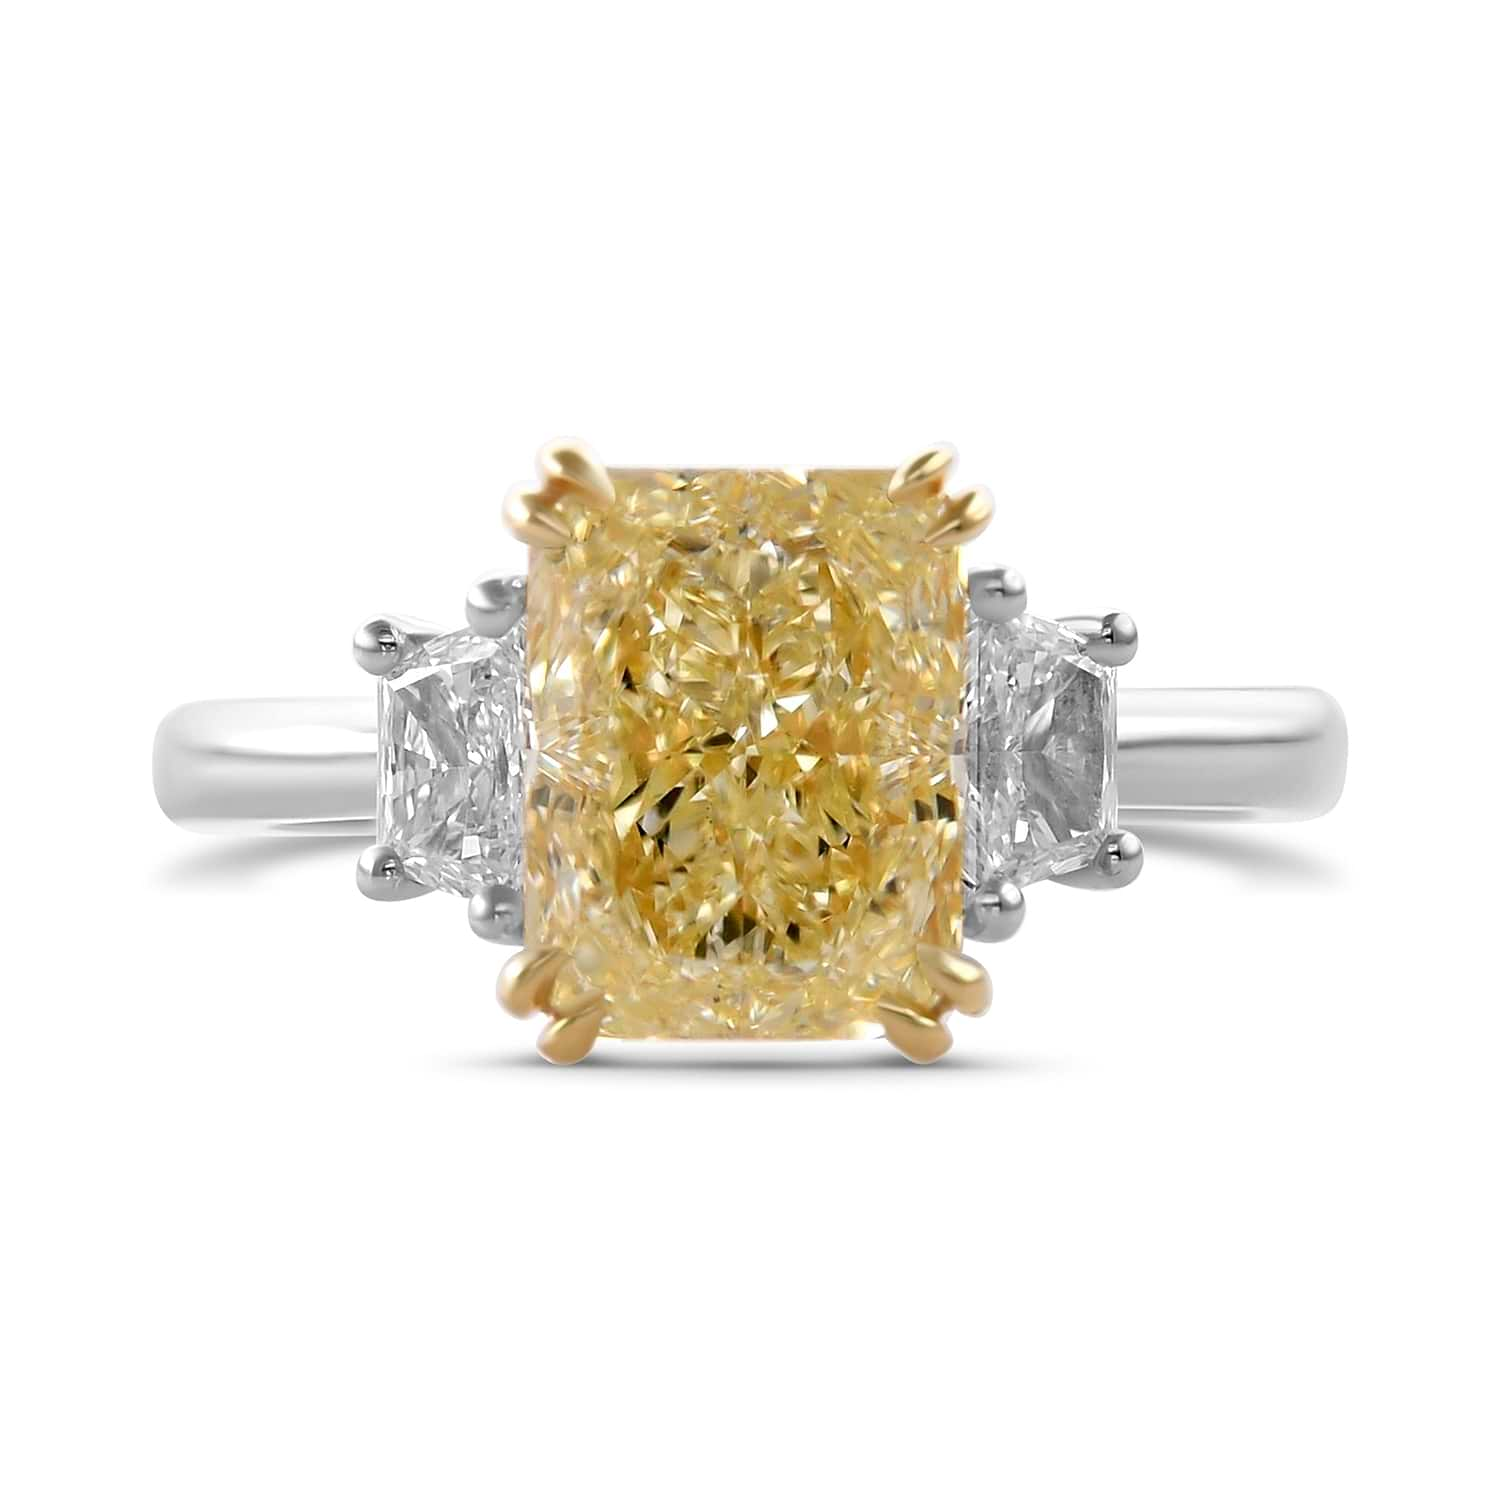
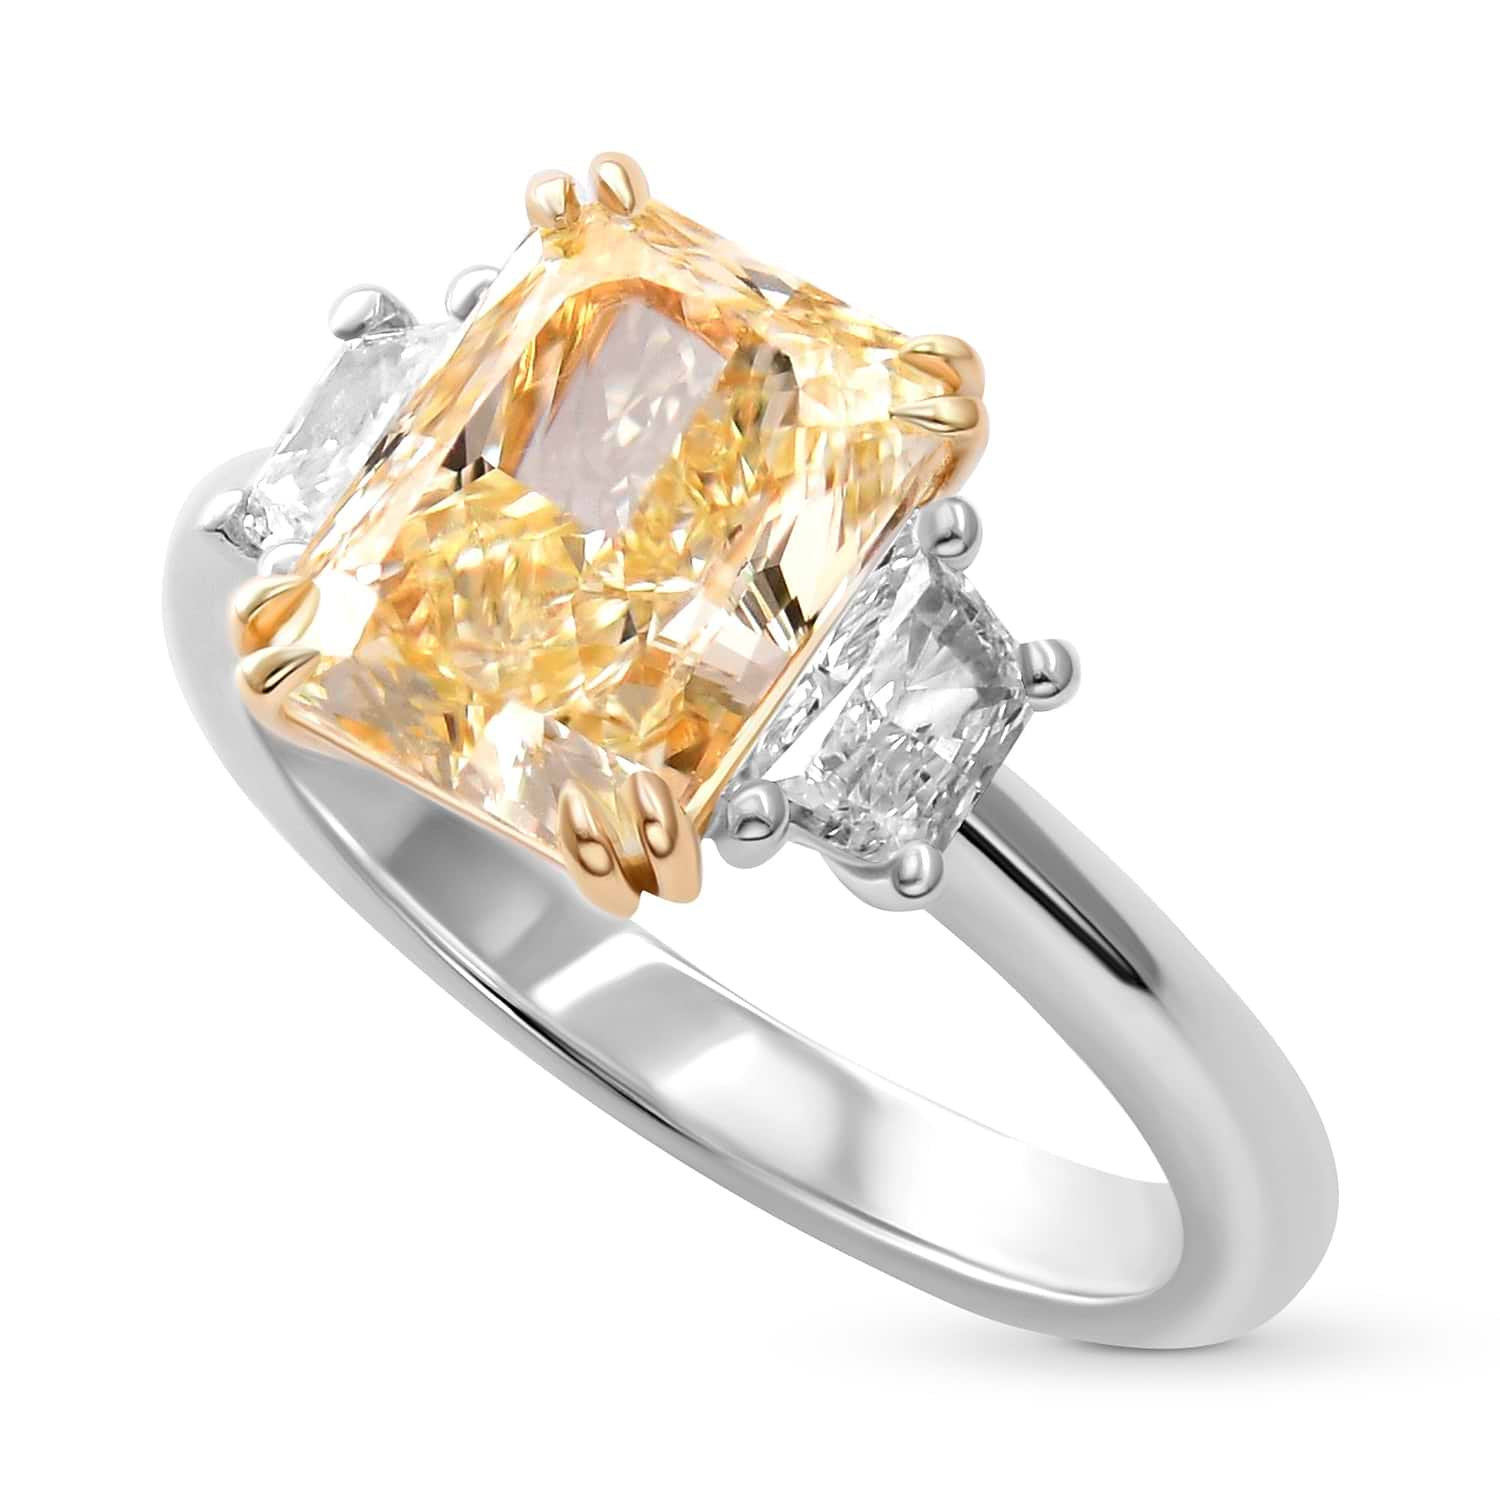
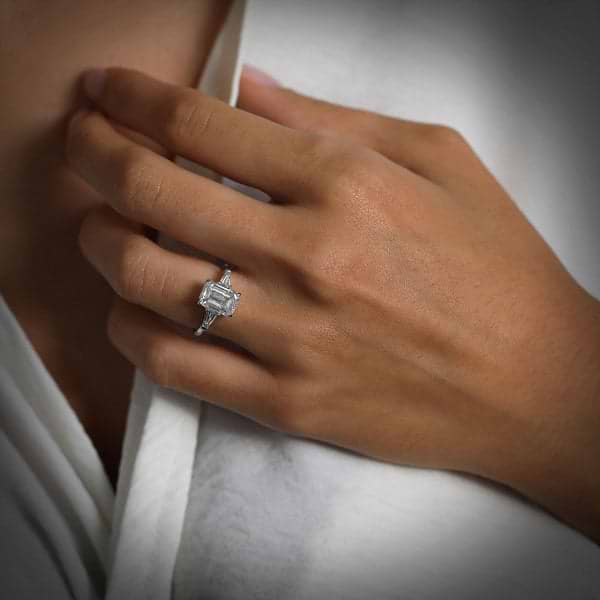
Der Moment, auf den sie gewartet hat – wenn sie diesen wunderschönen Ring zum ersten Mal an ihren Finger steckt – ist ein Nervenkitzel, an den sie und Sie sich für den Rest Ihres Lebens erinnern werden. Es kann auch ein Fototermin werden (für Freunde und Familie, die an diesem Moment teilnehmen), und nichts sollte schiefgehen. Aber was könnte in einem so zarten, sentimentalen Moment schiefgehen? Wenn der Ring zu eng oder zu groß ist, könnte das eine kleine Enttäuschung sein, nicht wahr? Deshalb ist es wichtig zu wissen, wie man die Ringgröße richtig misst, um sicherzustellen, dass der Moment so perfekt ist, wie Sie es sich beide vorgestellt haben.
Narrensichere Methoden zur Ringgrößenmessung
Aber keine Sorge. Es gibt narrensichere Methoden, um sicherzustellen, dass Ihre Ringgröße richtig ist, sodass die Präsentation des Rings Braut und Bräutigam gleichermaßen begeistern wird. Sehen wir uns mehrere Möglichkeiten an, um die richtige Ringgröße zu bestimmen. Es gibt eine Vielzahl von einfach anzuwendenden Methoden, von druckbaren Ringgrößentabellen bis hin zur Inanspruchnahme der Hilfe eines Fachmanns. Es gibt eine, die perfekt für Sie ist. Um sicherzugehen, sollten Sie nicht mehrere Methoden ausprobieren, um die Ringgröße zu überprüfen und sich so noch mehr Gewissheit zu verschaffen – viele Menschen tun dies, um sich vollkommen sicher zu sein.
Sie wissen vielleicht im Moment nicht, welche Ringgröße Sie benötigen, aber der Prozess der Ermittlung ist einfach, unterhaltsam und macht richtig Spaß. Dieser umfassende Leitfaden zur Ringgröße nimmt Ihnen den Stress beim Einkaufen des idealen Rings Ihrer Träume.
LEIBISH Verlobungsring mit ovalem, gelbem Diamanten
Die Bedeutung der Kenntnis Ihrer Ringgröße
Einfluss der richtigen Ringgröße auf Tragekomfort und Passform: Warum sie wichtig ist
Die Kenntnis Ihrer Ringgröße vor dem Kauf eines Verlobungsrings ist entscheidend, um sowohl einen bequemen als auch einen sicheren Sitz zu gewährleisten. Obwohl bei vielen Ringen eine Größenanpassung möglich ist, garantiert die Auswahl der richtigen Größe von Anfang an, dass die Integrität des Ringschafts nicht beeinträchtigt wird. Ein perfekt sitzender Ring bietet nicht nur Komfort, sondern auch Seelenfrieden, da keine Gefahr besteht, dass er abrutscht oder sich zu eng anfühlt. Wenn Sie einen Ringgrößenführer zu Rate ziehen oder professionellen Rat einholen, können Sie die ideale Größe für langfristiges Tragen finden.
Risiken der Größenänderung: Wann Sie von einer Größenänderung absehen sollten und welche Auswirkungen dies auf Ihren Ring haben kann
Obwohl Größenänderungen üblich sind, sind sie nicht ohne Herausforderungen. Bei einigen Ringdesigns, insbesondere bei solchen mit komplizierten Steinfassungen entlang der Vorderseite des Ringschafts, kann es bei der Größenänderung zu geschwächten Steinfassungen oder strukturellen Veränderungen kommen. Ihr Diamantexperte kann Sie beraten, ob ein bestimmter Stil für eine Anpassung geeignet ist oder ob die Größenänderung seine Integrität beeinträchtigen könnte. Eine Sammlung von LEIBISH-Ringen
Bei der Größenanpassung wird normalerweise ein kleiner Teil Metall von der Rückseite des Rings hinzugefügt oder entfernt. Ein erfahrener Juwelier kann diese Änderung problemlos vornehmen, aber wiederholte Größenanpassungen können den Ring mit der Zeit schwächen. Achten Sie nach Möglichkeit auf eine genaue Passform, um unnötige Anpassungen zu vermeiden. Konsultieren Sie immer einen erfahrenen Juwelier, um sicherzustellen, dass die Größenanpassung ohne Beeinträchtigung der Haltbarkeit oder Ästhetik des Rings durchgeführt wird.
Tipps zur Ringmessung für die genaue Ringgröße
Die Tageszeit ist wichtig: Wann Sie Ihren Ringfinger genau messen sollten
Unser Körper verändert sich im Laufe des Tages natürlich, und dazu gehört auch die Größe unserer Finger. Um eine genaue Ringgrößenmessung zu gewährleisten, messen Sie Ihren Ringfinger am besten später am Tag. Zu diesem Zeitpunkt hat sich Ihr Körper an seinen natürlichen Rhythmus gewöhnt, sodass Sie ein gleichmäßigeres und zuverlässigeres Ergebnis erhalten. Wenn Sie zu früh am Tag messen, wenn Ihre Finger noch kleiner sind, kann dies dazu führen, dass sich die Größe später eng anfühlt.
Temperatur und Körperveränderungen: Wie sie die Ringgrößenmessung beeinflussen
Umweltfaktoren wie die Temperatur spielen bei der Bestimmung der Ringgröße eine wichtige Rolle. Bei kälterem Wetter neigen Ihre Finger dazu, etwas zu schrumpfen, und Sie bemerken möglicherweise auch, dass sich Ihre Schuhe lockerer anfühlen. An heißen Tagen oder nach dem Verzehr salziger Speisen oder Alkoholkonsums können Ihre Finger anschwellen, was zu einem falschen Eindruck Ihrer tatsächlichen Größe führt.
Um diese Schwankungen zu vermeiden, wählen Sie einen Tag mit gemäßigten Wetterbedingungen und messen Sie, wenn Ihre Hände warm, aber nicht zu heiß sind. Dieses Gleichgewicht gewährleistet eine bequeme Passform, die Ihrer natürlichen Größe entspricht. Wenn Sie auf diese Details achten, kann das den entscheidenden Unterschied bei der Wahl der perfekten Ringgröße ausmachen.
LEIBISH – Ring mit ovalem Saphir und Diamanten in Königsblau mit Seitensteinen
Praktische und genaue Ringgrößentabelle zum Messen der Ringgröße zu Hause
Hier ist eine sehr praktische Methode, um Ihre richtige Ringgröße zu ermitteln. Eine druckbare Tabelle ist tragbar und sehr einfach zu verwenden. Mit diesem kleinen Werkzeug ist das Messen der Ringgröße unterwegs ein Kinderspiel. Drucken Sie einfach die Tabelle aus und legen Sie einen Ring, den der Träger bereits hat, auf jede runde Ringführung. Suchen Sie nach dem Ring, der dem eigenen Ring der Person am nächsten kommt. Jeder in der Tabelle angegebene Durchmesser hat eine entsprechende US-Ringgröße.
Aber was, wenn der Ring der Person zwischen zwei aufgedruckten Ringdurchmessern liegt? Kein Problem. Wenn das passiert (und das passiert oft), wählen Sie die größere Größe, um sicherzugehen, dass der Ring gut passt.
Wenn Sie einen Ring als Überraschung kaufen, können Sie ihre Familie oder Freunde um Hilfe bitten, die für diese Aufgabe heimlich einen Ring von ihr besorgen können!
USA und Kanada im Überblick
Umfang MM
2 2¼ 2½ 2¾ 3 3¼ 3½ 3¾ 4 4¼ 4½ 4¾ 5 5¼ 5½ 5¾ 6 6¼ 6½ 6¾ 7 7¼ 7½ 7¾ 8 8¼ 8½ 8¾ 9 9¼ 9½ 9¾ 10 10¼ 10½ 10¾ 11 11¼ 11½ 11¾ 12 12¼ 12½ 12¾ 13 13½ 14 14½ 15 15½
41,50 42.13 42,76 43,45 44.14 44,77 45,40 46,02 46,68 47,25 47,97 48,79 49,32 49,95 50,58 51.21 51,87 52,50 53,16 53,82 54,51 54,82 55,76 56,45 57,15 57,65 58,21 58,72 59,34 60,38 60,98 61,64 62,33 62,89 63,46 64,21 64,97 65,50 66,22 66,73 67,51 68,14 68,77 69,43 70,15 71,00 72,45 73,73 74,99 76,25
So messen Sie die Ringgröße mit einem Faden oder einem Papierstreifen
Es gibt mehr als eine Möglichkeit, die genaue Ringgröße zu ermitteln. Es mag übermäßig einfach klingen, aber die Methode mit Schnur oder Papierstreifen funktioniert sehr gut. Und Sie werden sicherlich eines oder beide dieser Dinge haben, um die Ringgröße zu überprüfen. So messen Sie die Ringgröße.
Wickeln Sie ein Stück Schnur oder einen Streifen Papier um die Basis des Ringfingers.
Markieren Sie die Treffpunkte der beiden Enden sorgfältig mit einem Stift. Achten Sie darauf, die Schnur oder das Papier nicht zu fest zu ziehen. Wenn es sich sicher, aber bequem anfühlt, haben Sie die Passform richtig gemessen.
Messen Sie nun die Größe Ihres Fadens oder Papiers mit einem Lineal oder Maßband. Verwenden Sie die mm-Markierungen und teilen Sie diese Zahl durch Pi oder 3,14. Das ist der Durchmesser des Rings.
Um die richtige Ringgröße zu ermitteln, schauen Sie in der Ringgrößentabelle aus Papier nach dem nächstgelegenen Maß.
Wie Fachleute bei der Ermittlung der genauen Ringgröße helfen können
Vorteile professioneller Unterstützung: Gewährleistung von Präzision und Komfort
Bei der Auswahl des perfekten Rings geht es nicht nur darum, ein Design auszuwählen – es geht auch darum, die richtige Ringgröße für einen bequemen und sicheren Sitz zu finden. Hier ist die Expertise eines Diamantexperten von unschätzbarem Wert. Er versteht die feinen Nuancen verschiedener Ringstile, von der Auswirkung von Designelementen auf die Ringgröße bis hin zur Art und Weise, wie bestimmte Stile mit der Form und Größe Ihres Fingers interagieren. Sein Wissen kann Ihnen dabei helfen, sich in Optionen wie Ringgrößentabellen, Ringgrößen in mm oder Zoll zurechtzufinden und sogar herauszufinden, wie Sie die Ringgröße zu Hause messen können.
LEIBISH Mehrfarbige Diamant-Cluster-Couture-Ringe
Wann Sie Expertenhilfe suchen sollten: Die beste Option für die genaue Ringgröße auswählen
Wenn Sie sich nicht sicher sind, wie Sie die Ringgröße bestimmen sollen, oder sich nicht sicher sind, wie Sie die Ringgröße mit DIY-Methoden ermitteln können, ist es am besten, professionelle Beratung in Anspruch zu nehmen. Juweliere können genaue Ringgrößenmessungen vornehmen und Aufschluss darüber geben, ob sich bestimmte Designs später leichter in der Größe ändern lassen. Sie können Sie durch Tools wie eine genaue Ringgrößentabelle führen oder Ihnen helfen, den Fingerumfang in die Ringgröße umzurechnen.
Profis sind auch gut darauf vorbereitet, spezielle Situationen zu bewältigen, wie beispielsweise die kleinste Ringgröße zu finden oder eine Ringmaßtabelle für nicht standardmäßige Designs zu verwenden. Ihr Fachwissen stellt sicher, dass Sie potenzielle Risiken vermeiden, wie beispielsweise die Auswahl einer Größe, die aufgrund komplizierter Steinfassungen möglicherweise nur schwer angepasst werden kann.
Wenn Sie sich auf die Hilfe eines Diamantexperten verlassen, wird nicht nur der Prozess vereinfacht, sondern es wird auch sichergestellt, dass jeder Aspekt, von der Passform bis zum Design, sorgfältig berücksichtigt wird, sodass Sie Ihre endgültige Wahl sowohl elegant als auch sorgenfrei treffen können.
Berücksichtigen Sie Ringbreite und Stil für die perfekte Ringgröße
Wenn Sie beispielsweise einen Ring mit einem sehr breiten Band auswählen, werden Sie überrascht feststellen, dass Sie oft eine ¼- oder sogar eine ½-Größe größer wählen müssen, um einen bequemen Sitz zu erzielen. Viele andere Ringstile können sich auf die endgültige Größe auswirken, die Sie benötigen. Eternity-Ringe sind ein weiteres Beispiel für atemberaubende Schmuckstücke. Diese Ringe sind rundherum mit Diamanten besetzt. Ihre Botschaft ist die einer nie endenden Liebe – so wie der Ring weder Anfang noch Ende hat. Die zusätzlichen Diamanten auf dem Ring müssen jedoch möglicherweise ein wenig größer gewählt werden, um beim täglichen Tragen einen angenehmen Tragekomfort zu gewährleisten.
LEIBISH Fancy Hellrosa Halb-Eternity-Ring mit Diamanten
So messen Sie die Ringgröße bei schwankendem Gewicht
Dies ist ein guter Zeitpunkt, um Gewichtsschwankungen zu erwähnen, die wir alle von Zeit zu Zeit erleben. Wenn der Ring die richtige Größe hat, toleriert er eine gewisse Gewichtsveränderung des Trägers. Und Sie gehen davon aus, diesen Ring Ihr ganzes Leben lang zu tragen – daher wird es im Laufe der Jahre zwangsläufig zumindest zu einer gewissen Gewichtsveränderung kommen.
Sollte eine Gewichtsabnahme oder -zunahme dauerhaft sein, besteht absolut kein Grund zur Sorge. Ihr wertvoller Ring kann beim Juwelier angepasst werden, damit er weiterhin ein wertvoller Teil Ihres Alltags bleiben kann.
LEIBISH Zwei-Stein-Ring aus Smaragd und Rubin
Letzte Tipps zum Finden Ihrer perfekten Ringgröße
Hier finden Sie einige wichtige Tipps, mit denen Sie mühelos und präzise die perfekte Ringgröße ermitteln können.
Verwenden Sie ein genaues Werkzeug: Für Heimwerkermethoden können Sie eine druckbare Ringgrößentabelle oder ein spezielles Ringgrößenumfangswerkzeug verwenden. Wenn Sie für eine bestimmte Region messen, vergleichen Sie die Ringgrößen je nach Standard in mm oder in Zoll.
Experimentieren Sie mit einem Probering: Leihen Sie sich einen Ring, der bequem sitzt, oder verwenden Sie ihn, um Ihre Größe zu ermitteln. Sie können die tatsächliche Ringgrößentabelle verwenden oder den Durchmesser mit einer Ringgrößen-Durchmessertabelle vergleichen.
Mehrmals messen: Um Konsistenz zu gewährleisten, nehmen Sie mehrere Ringgrößenmessungen vor. Wenn Sie sich nicht sicher sind, wenden Sie sich an einen Juwelier, der die Ringgröße genauer berechnen kann.
Orientieren Sie sich am Durchschnitt: Die Kenntnis der durchschnittlichen Ringgröße für Männer und Frauen kann beim Kauf eines Überraschungsgeschenks als hilfreiche Orientierung dienen.
Planen Sie Anpassungen ein: Auch bei allen Vorsichtsmaßnahmen können kleinere Anpassungen erforderlich sein. Wählen Sie einen Juwelier , der Größenanpassungsdienste anbietet, falls der Ring nicht perfekt passt.
Konsultieren Sie einen standardisierten Leitfaden: Wenn Sie online einkaufen, beachten Sie die Standard-Ringgrößentabelle des Geschäfts und befolgen Sie die Anweisungen zum Messen Ihrer Ringgröße zu Hause, um die Kompatibilität sicherzustellen.
LEIBIS H Edelsteinringe - Cascade Kollektion Dies scheint eine Menge Information zu sein und Sie benötigen sie vielleicht nicht alle, um die richtige Ringgröße für den Ring zu bestimmen, den Sie kaufen möchten. Hier finden Sie jedoch weitere Informationen, um sicherzustellen, dass wir alle Grundlagen abdecken. Die Suche nach dem perfekten Diamantring ist eine der freudigsten Aufgaben, die ein Paar jemals übernimmt. Er ist Ihre Aufmerksamkeit und Konzentration während des Auswahlprozesses wert. Und schließlich wird die richtige Ringgröße sicherstellen, dass sie ihn anzieht und nie wieder ablegt, wenn der Moment kommt, den Ring zu überreichen. Und das ist eine sehr gute Sache!


