< Previous Step | |
Step 4: Printing the Model |
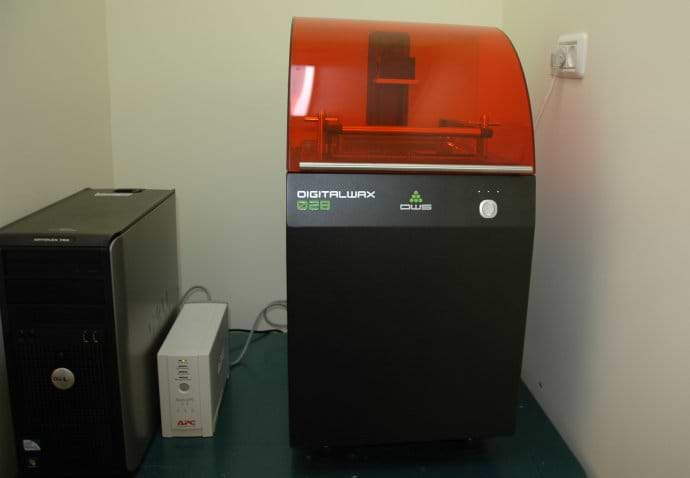
The completed virtual model is sent for printing. A three-dimensional resin/wax model of the jewelry is generated in a 3D printer. The model is printed in layers of wax to a high resolution; the implementation of the physical design has begun.
The design team inspects the printed model carefully to ensure that it accurately reflects the original design. This is a pivotal point for quality control since this is the first instance in the manufacturing process that the idea is manifested into a physical creation. If the wax replica is not an exact match, the team returns to the drawing board to create a usable design.
|
The 3D Printer that Actually Prints the Model |
|
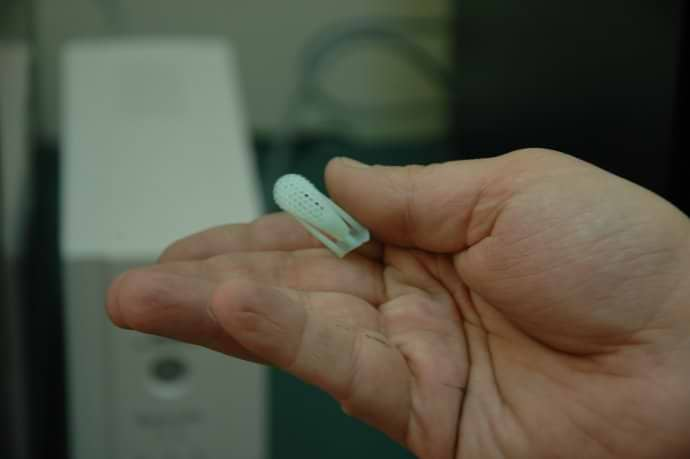
A Sample of the Wax Model of a Ring |
|
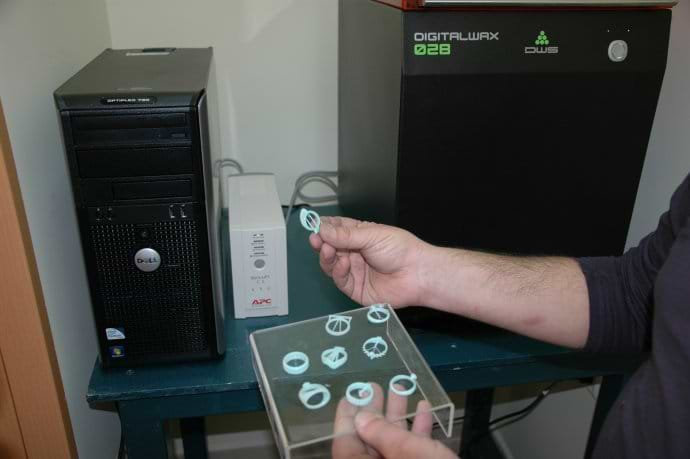
A Number of Ring Models that Were Printed |
|
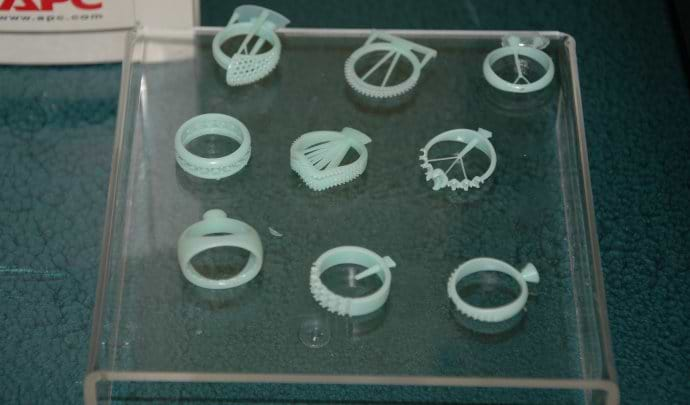
3D Wax Models of the Diamond Ring Designs |
Skip to any of the other steps in the manufacturing process of jewelry design
< Previous Step |
Step 4: Printing the Model |
Next Step > |
